Drip irrigation is the most water-efficient way to water a garden, and it is also one of the most satisfying DIY projects a homeowner can tackle. Unlike sprinklers that spray water into the air — where wind and evaporation steal a good share of it — drip systems deliver water slowly and directly to the root zone. The result is healthier plants, fewer weeds (because the soil surface between plants stays dry), lower water bills, and a garden that practically waters itself once you add a timer.
The best part is that a basic system needs no plumbing licence, no special tools beyond scissors and a hole punch, and parts are available at every major hardware store in Australia. This guide takes you from planning your zones through parts, step-by-step installation, connecting to a tap or rainwater tank, seasonal adjustments and fixing the blockages that are every drip owner's occasional nemesis.
Step 1: Plan Your Zones
Good irrigation starts on paper, not in the hardware aisle. Sketch your garden beds and divide them into watering zones based on two things: plant water needs and sun exposure. A veggie patch in full sun needs far more water than an established native bed in part shade, and putting them on the same line means one of them gets it wrong.
Typical suburban zones might be: (1) vegetable garden, (2) ornamental beds near the house, (3) native/drought-tolerant beds, (4) pots and containers. Most DIY tap timers handle two to four zones with a manifold, which suits the average backyard. Keep each zone's pipe run under about 30 metres from the water source — longer runs lose pressure and the drippers at the far end underperform.
Also note your water source location and any slope. Drip systems work on gentle slopes, but on steep blocks use pressure-compensating drippers so plants at the bottom do not get flooded while the top stays dry.
Step 2: Gather Your Parts
Australian drip systems use standardised 13 mm polytube as the backbone, with 4 mm micro-tube feeding individual drippers. Here is a typical shopping list for a two-zone bed system: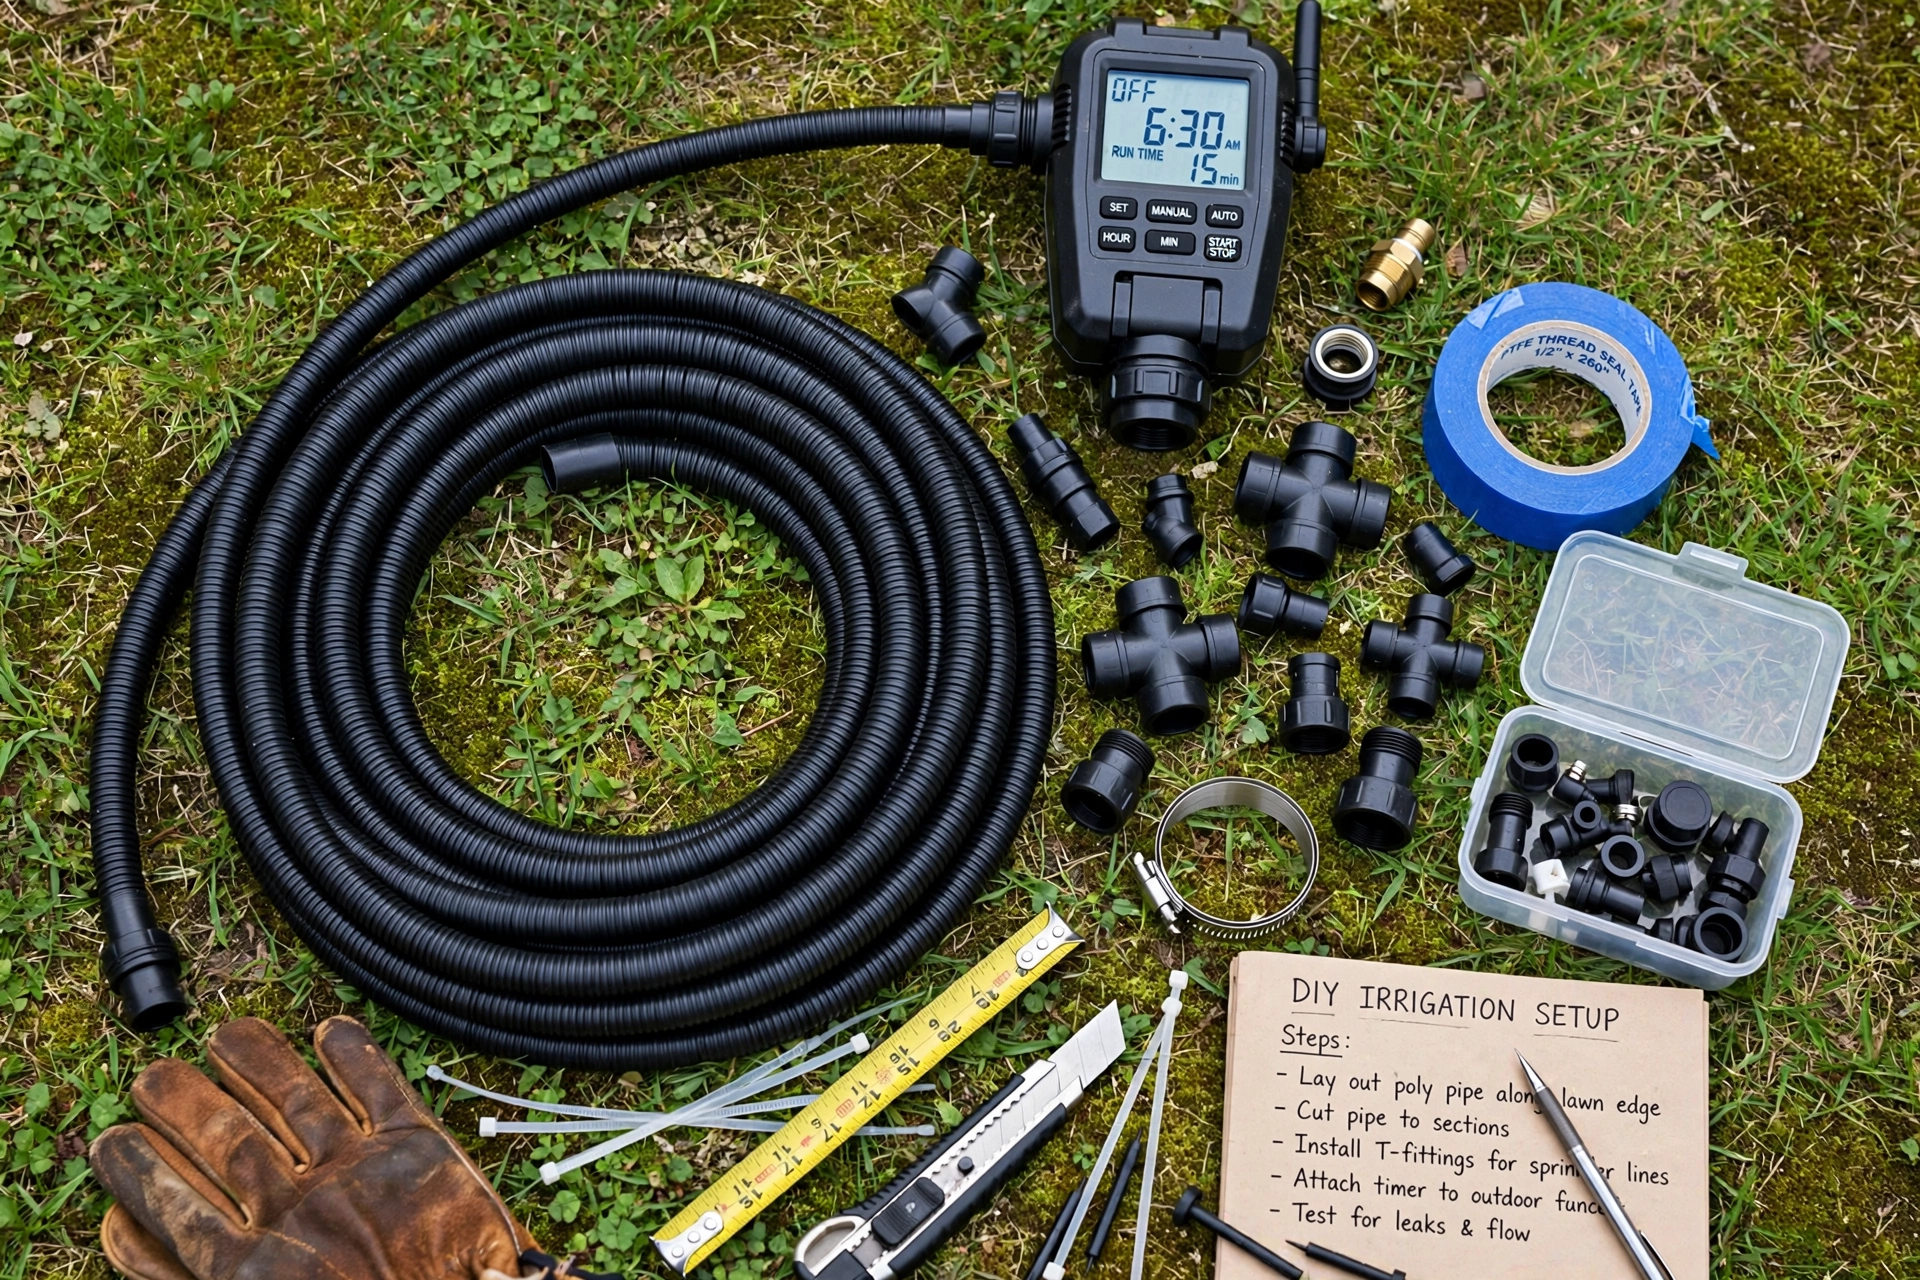
- Tap timer: a battery-powered digital timer (single or multi-outlet) — the heart of the automation.
- Backflow prevention: a simple dual-check valve on the tap, required in most states to protect the mains supply.
- Pressure reducer: mains pressure (often 500+ kPa) will blow drip fittings apart; a 150–200 kPa reducer is essential on tap connections.
- Filter: a 120-mesh inline filter stops sediment blocking drippers — non-negotiable with tank or bore water.
- 13 mm polytube: the main line running through each zone.
- Drippers: 2, 4 or 8 litre-per-hour button drippers for individual plants; inline dripper tube (with built-in emitters every 30 cm) for hedges and rows.
- 4 mm micro-tube and stakes: to position drippers precisely at each plant's root zone.
- Fittings: elbows, tees, end caps, joiners and hole punches — buy a mixed starter kit plus spares.
- Mulch: to bury the lines under, which protects tube from UV and further cuts evaporation.
For a couple of average garden beds, expect to spend a few hundred dollars all up — far less than a professionally installed system, and the parts last for years.
Step 3: Install the System
- Fit the tap assembly. Screw the backflow preventer onto the tap, then the timer, then the pressure reducer, then the filter, in that order. Use thread tape on every threaded joint and hand-tighten plus a quarter turn — over-tightening cracks plastic fittings.
- Lay out the main line. Run 13 mm polytube from the tap assembly along each bed, cutting with scissors and joining with barbed fittings. Keep the tube roughly where plants are, about 30 cm from stems as a starting guide.
- Add drippers. Punch holes in the polytube at each plant and push in button drippers, or run 4 mm micro-tube from the main line to a stake positioned at the plant's drip line (the edge of its leaf canopy, where feeder roots are). For hedges and veggie rows, lay inline dripper tube in a serpentine pattern.
- Cap the ends. Fit end caps or flush valves at the end of each line — flush valves let you open the line to purge sediment, which you will appreciate later.
- Test before burying. Turn the water on and walk every line. Check each dripper flows, look for leaks at fittings, and confirm coverage reaches every plant. Fix issues now, while everything is visible.
- Mulch over the top. Cover lines with 75 to 100 mm of mulch. This hides the system, protects polytube from UV degradation, and multiplies your water savings. Mark valve and filter locations with a small stake so you can find them.
- Program the timer. Start with two or three early-morning sessions per week in warm weather (e.g. 5am for 30–45 minutes), then adjust based on how the soil feels. Push a finger or screwdriver into the soil the day after watering — moist 10 cm down means the duration is right.
Connecting to a Tap vs a Rainwater Tank
Tap connection
The simplest option: screw the assembly onto an outdoor tap as described above. The pressure reducer and filter are mandatory. Check your local water restrictions — in Perth, for example, scheme-water irrigation is limited to rostered days, and a timer makes compliance automatic. The downside is cost: you are paying mains rates for every litre.
Rainwater tank connection
Connecting drip to a tank is ideal for water-wise gardening but needs a pump — tanks do not generate enough pressure on their own unless elevated well above the garden. A small automatic pressure pump (around 300–500 kPa) between tank and irrigation gives excellent results. Use a good filter, because tank water carries more sediment than mains, and fit a low-water cut-off or float switch so the pump never runs dry. Many gardeners run a hybrid: tank water for beds via drip, mains for lawns and backup.
Seasonal Adjustments
A timer set in January will drown your garden in July. Adjust through the year:
- Summer (Dec–Feb): peak demand — water early morning, two to four times a week depending on heat and plant type. In extreme heatwaves, add a manual extra cycle; timers cannot see a 42-degree day coming.
- Autumn (Mar–May): taper back as temperatures drop and rain returns. This is the time for annual maintenance: flush lines, clean the filter, check drippers.
- Winter (Jun–Aug): minimal watering — established beds may need nothing. In Perth, the winter sprinkler ban applies to bores and scheme water; drip on tanks is generally fine but check current rules.
- Spring (Sep–Nov): ramp back up as growth resumes. Inspect the whole system after winter: rodents and garden tools damage lines over the quiet months.
Smart timers with rain sensors or Wi-Fi weather adjustment are worth considering — they skip cycles after rain automatically, which is both water-wise and restriction-friendly.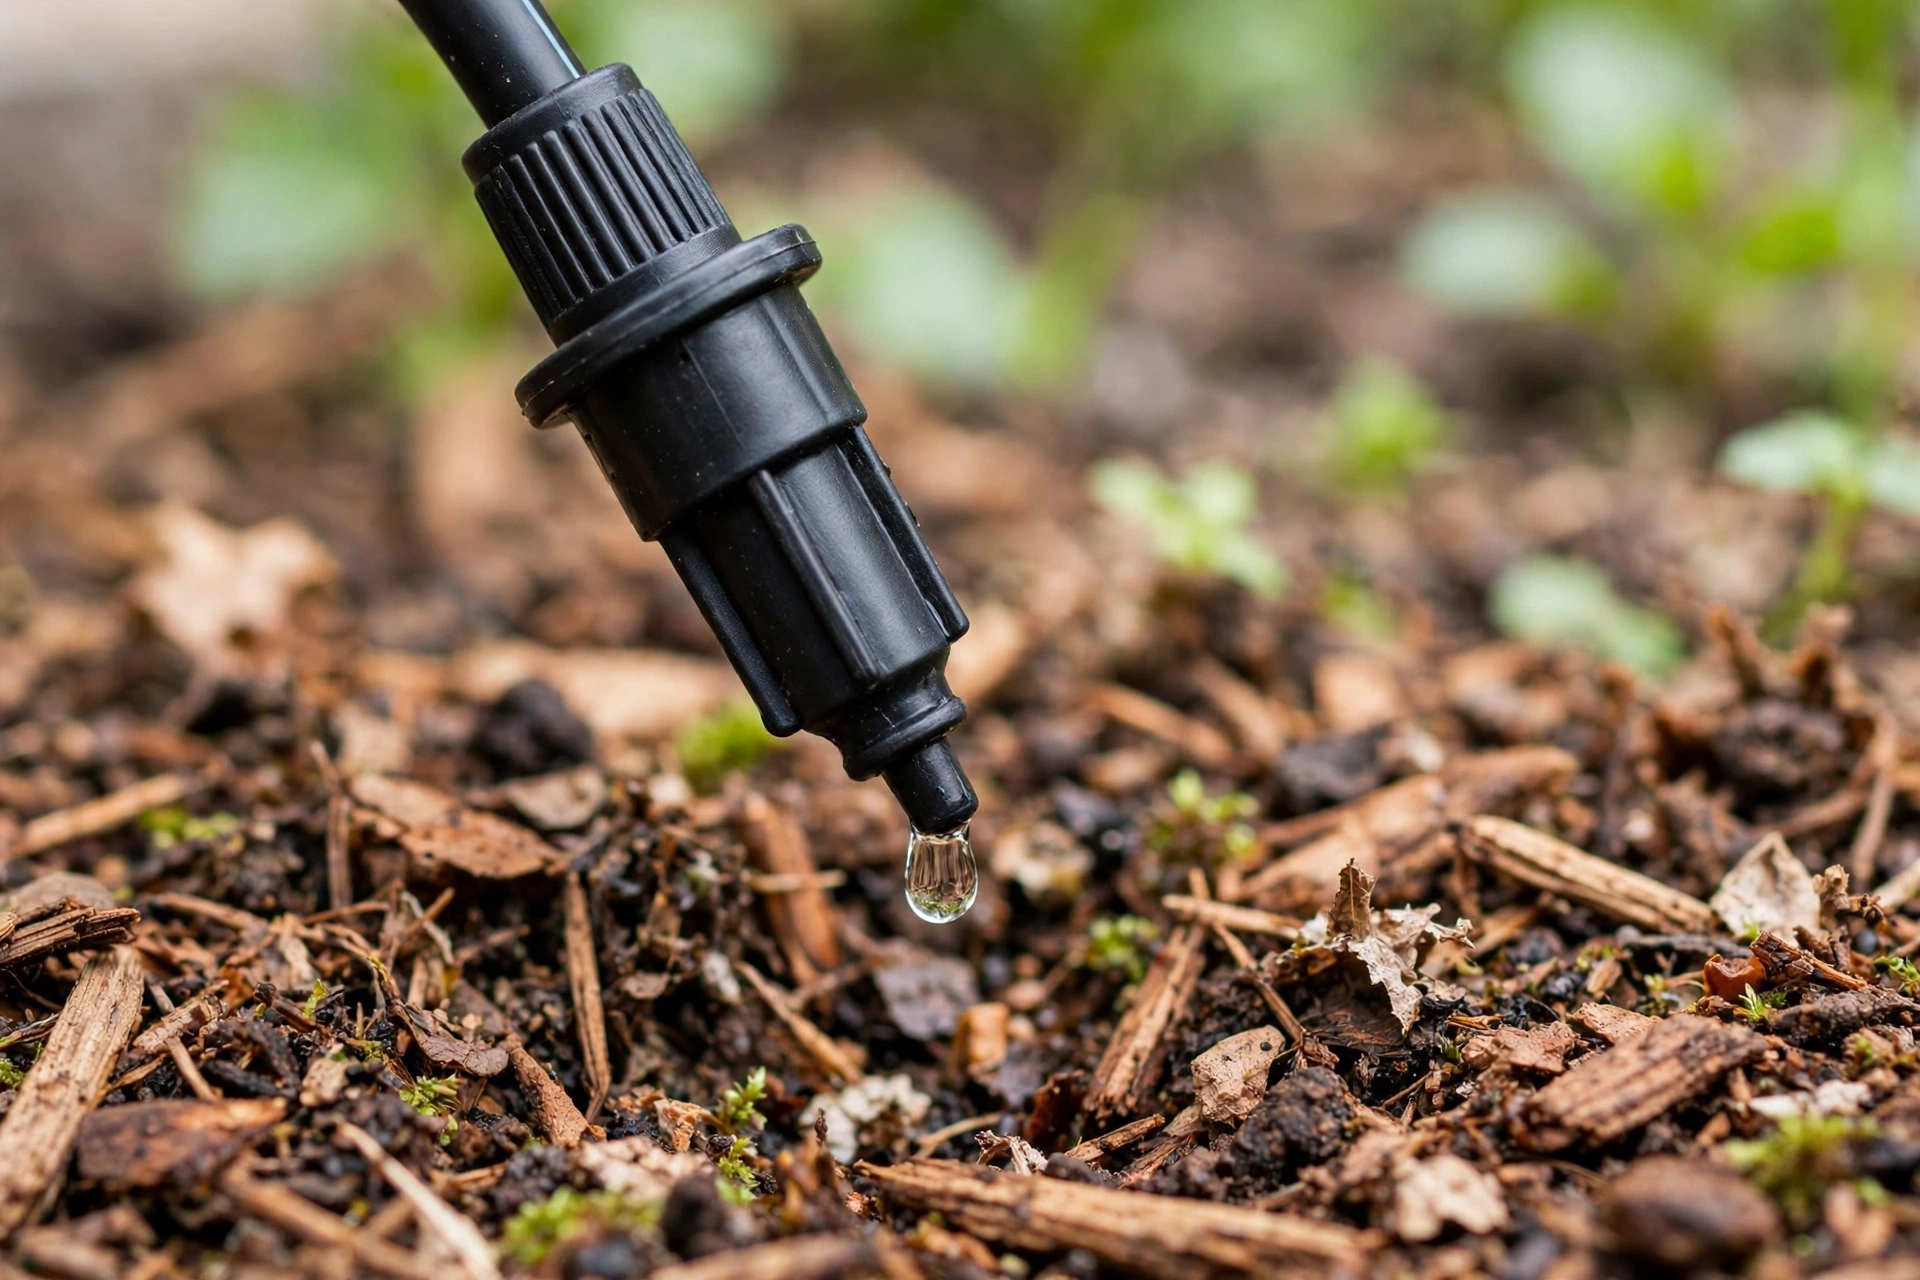
Troubleshooting Blockages
Blocked drippers are the most common drip complaint, and almost always preventable. Work through this checklist:
- Clean the filter first. A clogged inline filter starves the whole zone. Rinse it monthly in summer, especially with tank or bore water.
- Flush the lines. Open end caps or flush valves and run water for a minute to purge sediment that has settled in low spots.
- Check individual drippers. Pop out blocked button drippers, soak in vinegar to dissolve mineral scale, or simply replace them — they cost cents.
- Look for kinked tube. Polytube kinked under mulch or pinched by a stake stops flow downstream. Re-route with a gentle curve.
- Consider water quality. Hard bore water in parts of Western Australia and South Australia scales up drippers faster; a finer filter and more frequent vinegar soaks manage it.
If an entire zone stops working suddenly, the cause is usually at the tap assembly — a flat timer battery, a closed valve, or a blocked filter — not in the garden. Check upstream first.
Install it in the cool of a spring morning, test every dripper before you mulch, and put the filter where you will actually clean it. Ninety per cent of drip irrigation problems are installation shortcuts, not product failures.
Frequently Asked Questions
How much does DIY drip irrigation cost in Australia?
A basic single-zone kit for a few garden beds starts around a hundred dollars; a well-planned multi-zone system with a quality timer, filter and pressure regulation typically runs a few hundred dollars. Inline dripper tube for rows and hedges is the most economical emitter choice per metre.
Can I install drip irrigation myself or do I need a plumber?
Tap-connected drip systems using standard hose fittings are a straightforward DIY job and need no licence. You only need a licensed plumber if you are cutting into household plumbing, installing backflow devices on the mains side beyond a tap, or plumbing tank water into toilets or laundry.
How long should I run drip irrigation?
It depends on dripper flow rates, soil type and weather — sandy Perth soils need shorter, more frequent cycles than heavy Melbourne clay. As a starting point, run 30 to 45 minutes two to three times a week in summer, then check soil moisture 10 cm down the next day and adjust. Clay soils want longer, less frequent sessions; sand wants the opposite.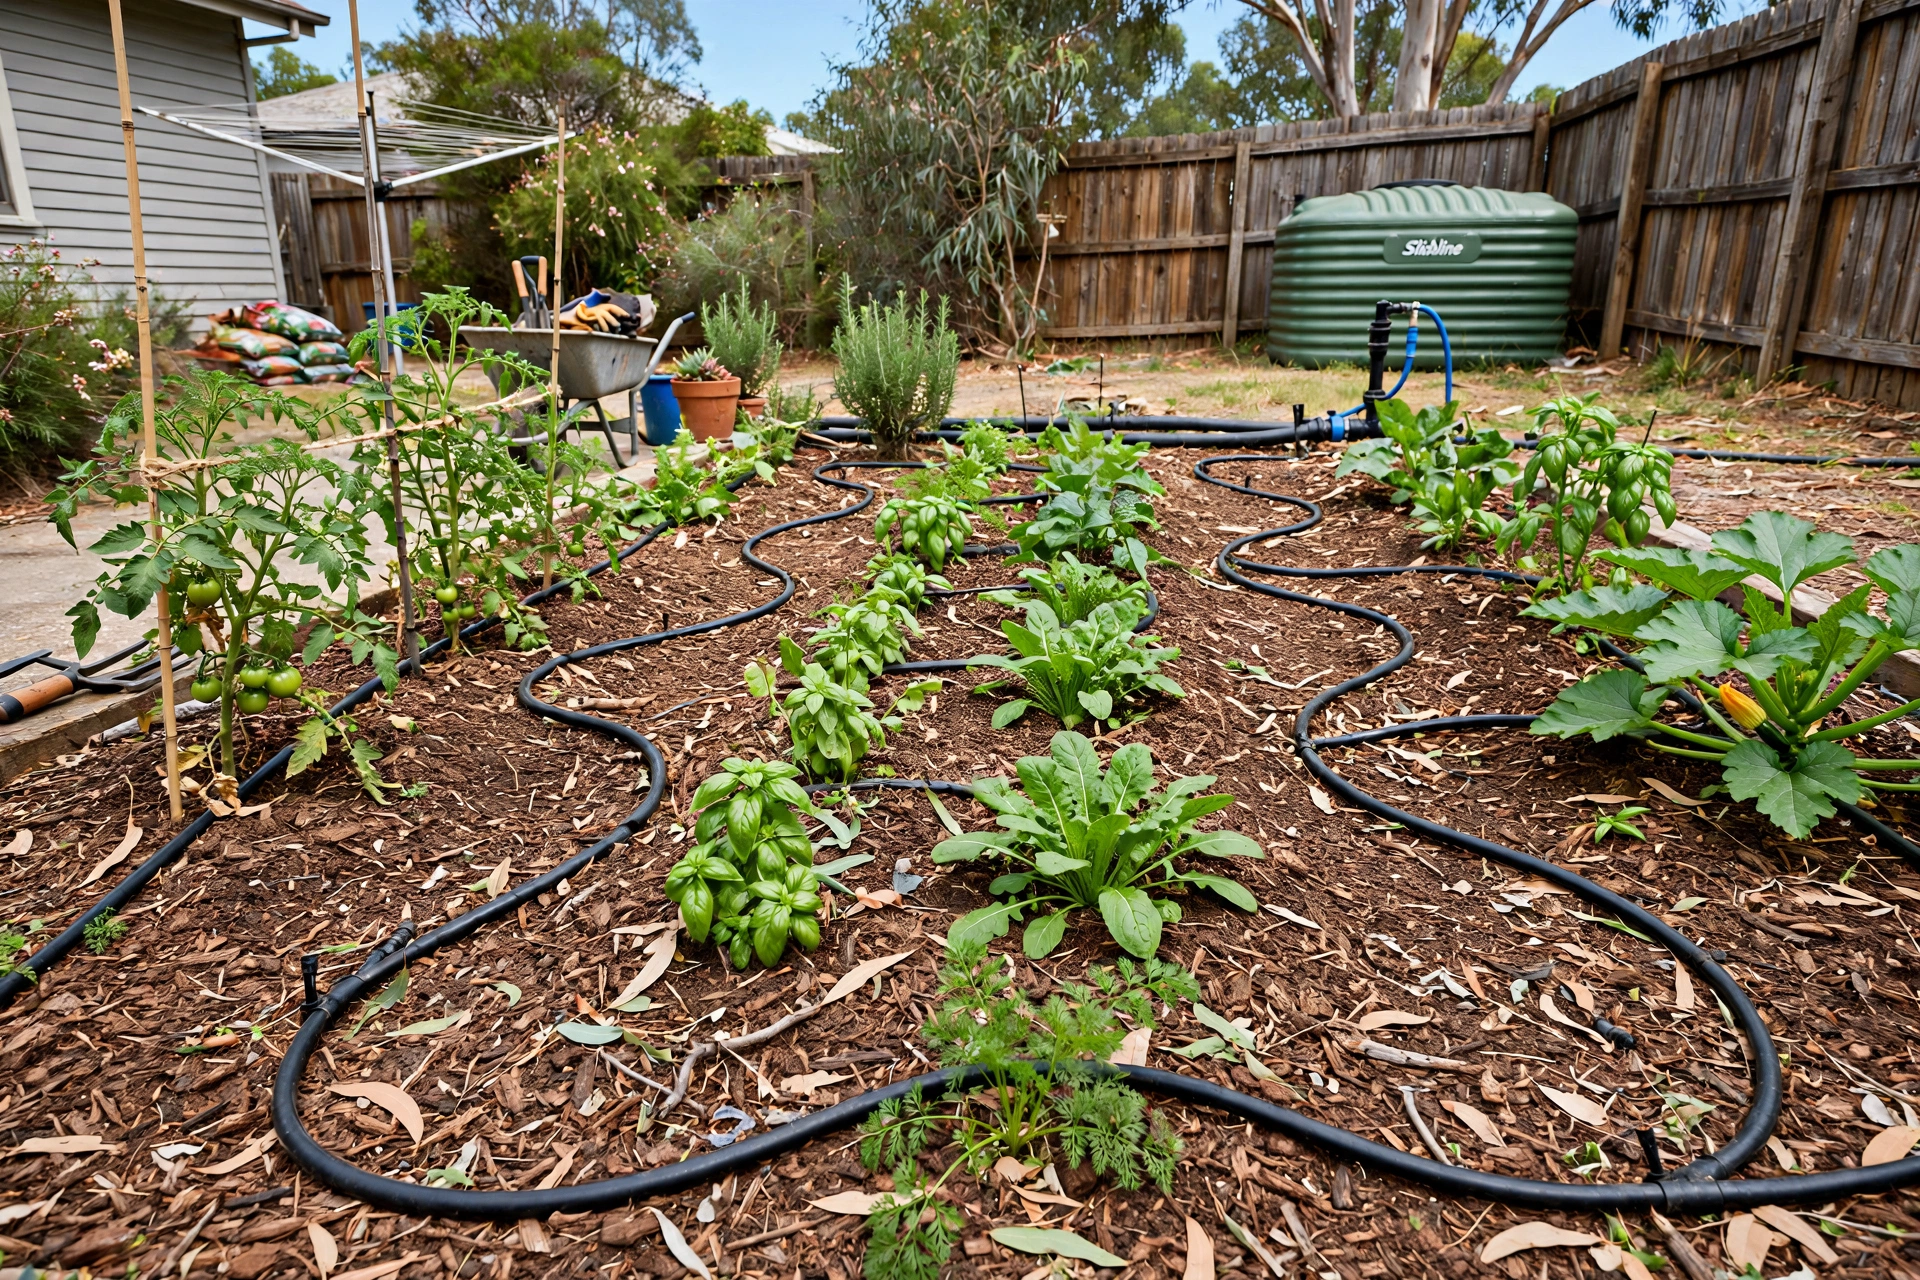
Will drippers work for lawns?
Subsurface drip exists for lawns and is very water-efficient, but it is a bigger job — lines must be buried 10 to 15 cm deep on a grid, and it suits new lawn installations far better than retrofits. For existing lawns, efficient sprinklers (MP rotators rather than old pop-ups) are usually the practical choice.
Do I need to bring the system in for winter?
No — Australian winters are mild enough that buried polytube and fittings survive fine outdoors. Just reduce or switch off watering, remove timer batteries if storing the timer indoors, and drain any above-ground exposed sections in frost-prone inland and elevated areas where hard frosts occur.